If you're an avid yogi or dancer, you know the importance of having a good grip on the floor. Non-slip grip socks have become a popular choice for those who want to avoid slipping and sliding during their practice. However, buying grip socks can be expensive, and the designs may not always be to your liking. The solution? Make your own grip socks!
Creating your own grip socks is a fun and easy project that doesn't require any special skills. In this article, we'll guide you through the process of DIY grip socks. We'll cover everything from the materials you'll need to how to care for your homemade socks once they're finished. So, let's get started!
Key Takeaways
- Making your own grip socks is easy and affordable.
- You can customize your grip socks to your liking.
- Proper care is essential for making your grip socks last longer.
How To Make DIY Grip Socks: Quick Guide
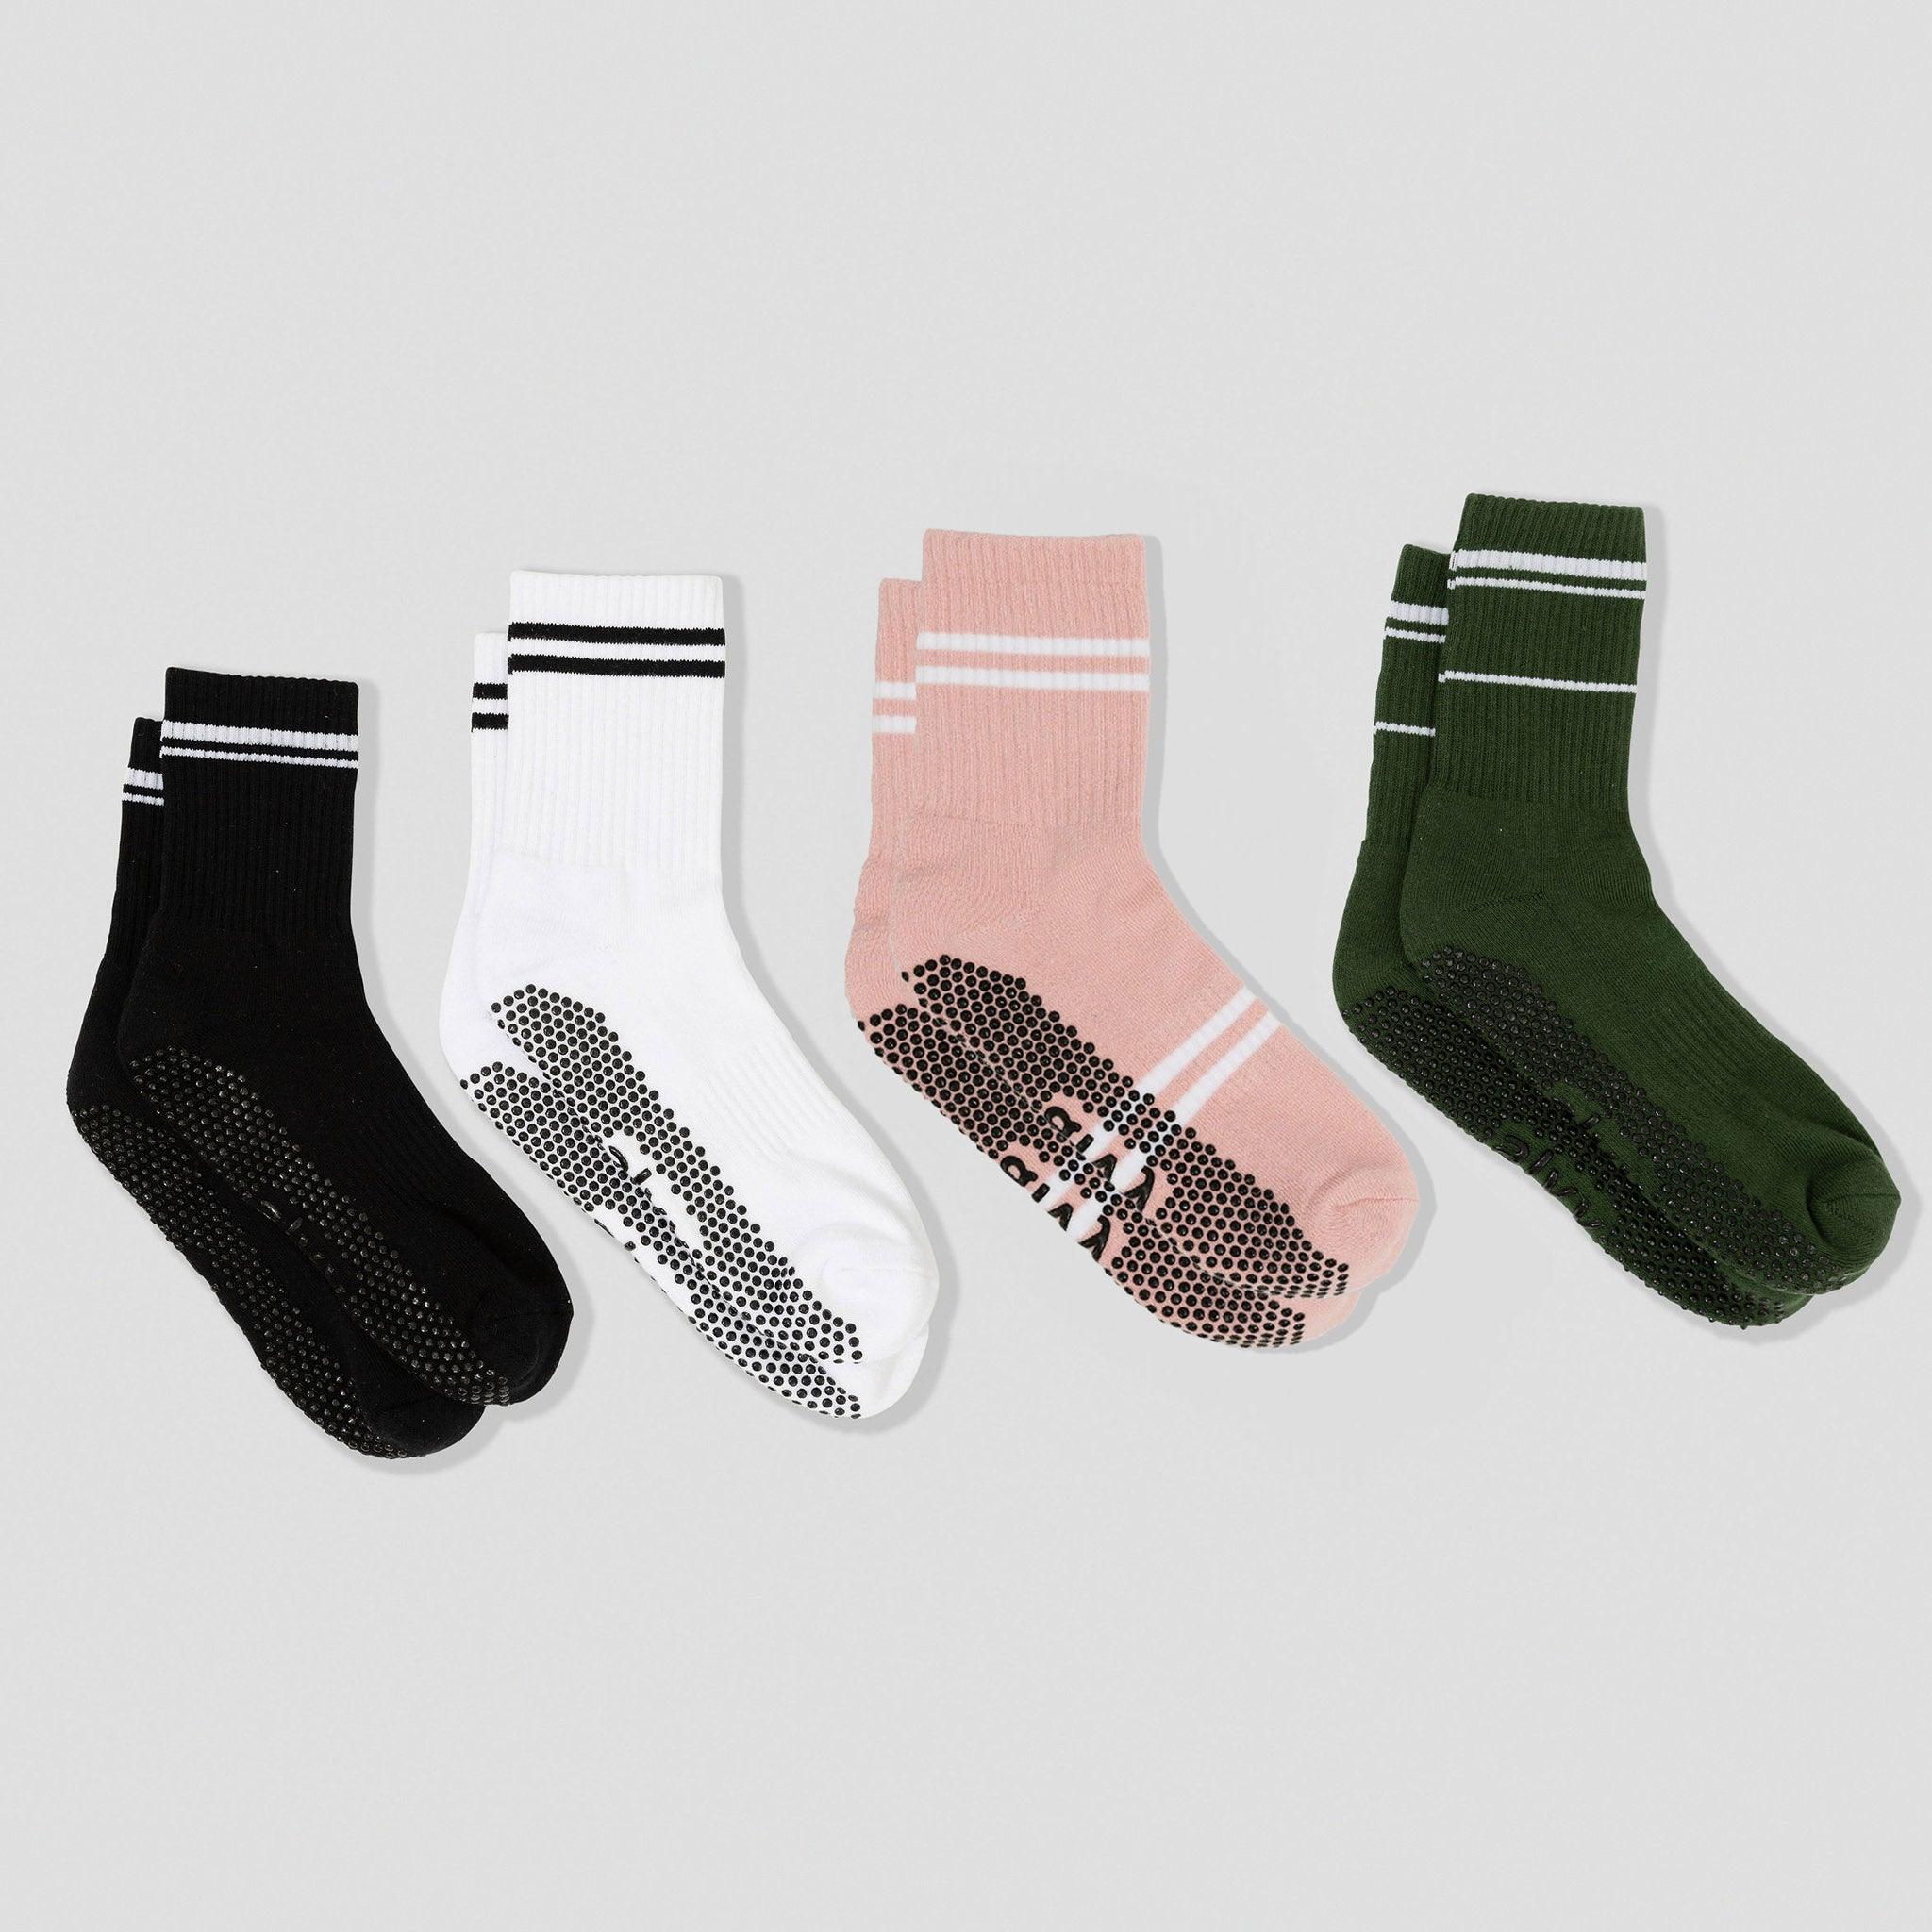
- Choose Your Socks: Start with a pair of plain, clean socks. Ankle or crew-length socks work well for this project. If you're more adventurous, grip socks without toes can work well too.
- Create a Design: Use a pencil to sketch out the design you want on the soles of your socks. This could include patterns, symbols, or words. Keep in mind that simplicity often works best for grip socks.
- Insert Cardboard or Plastic: To prevent the paint from bleeding through to the other side of the sock, place cardboard or plastic inserts inside each sock, stretching them out to mimic the shape of your foot.
- Apply Painter's Tape: Use painter's tape to mask off any areas you don't want to paint. This is especially important if you want specific patterns or sections to remain paint-free.
- Paint Your Design: Apply fabric paint or puffy paint to the soles of the socks. Ensure an even coat, and don't be afraid to get creative with your design. Allow the paint to dry completely before moving on to the next step.
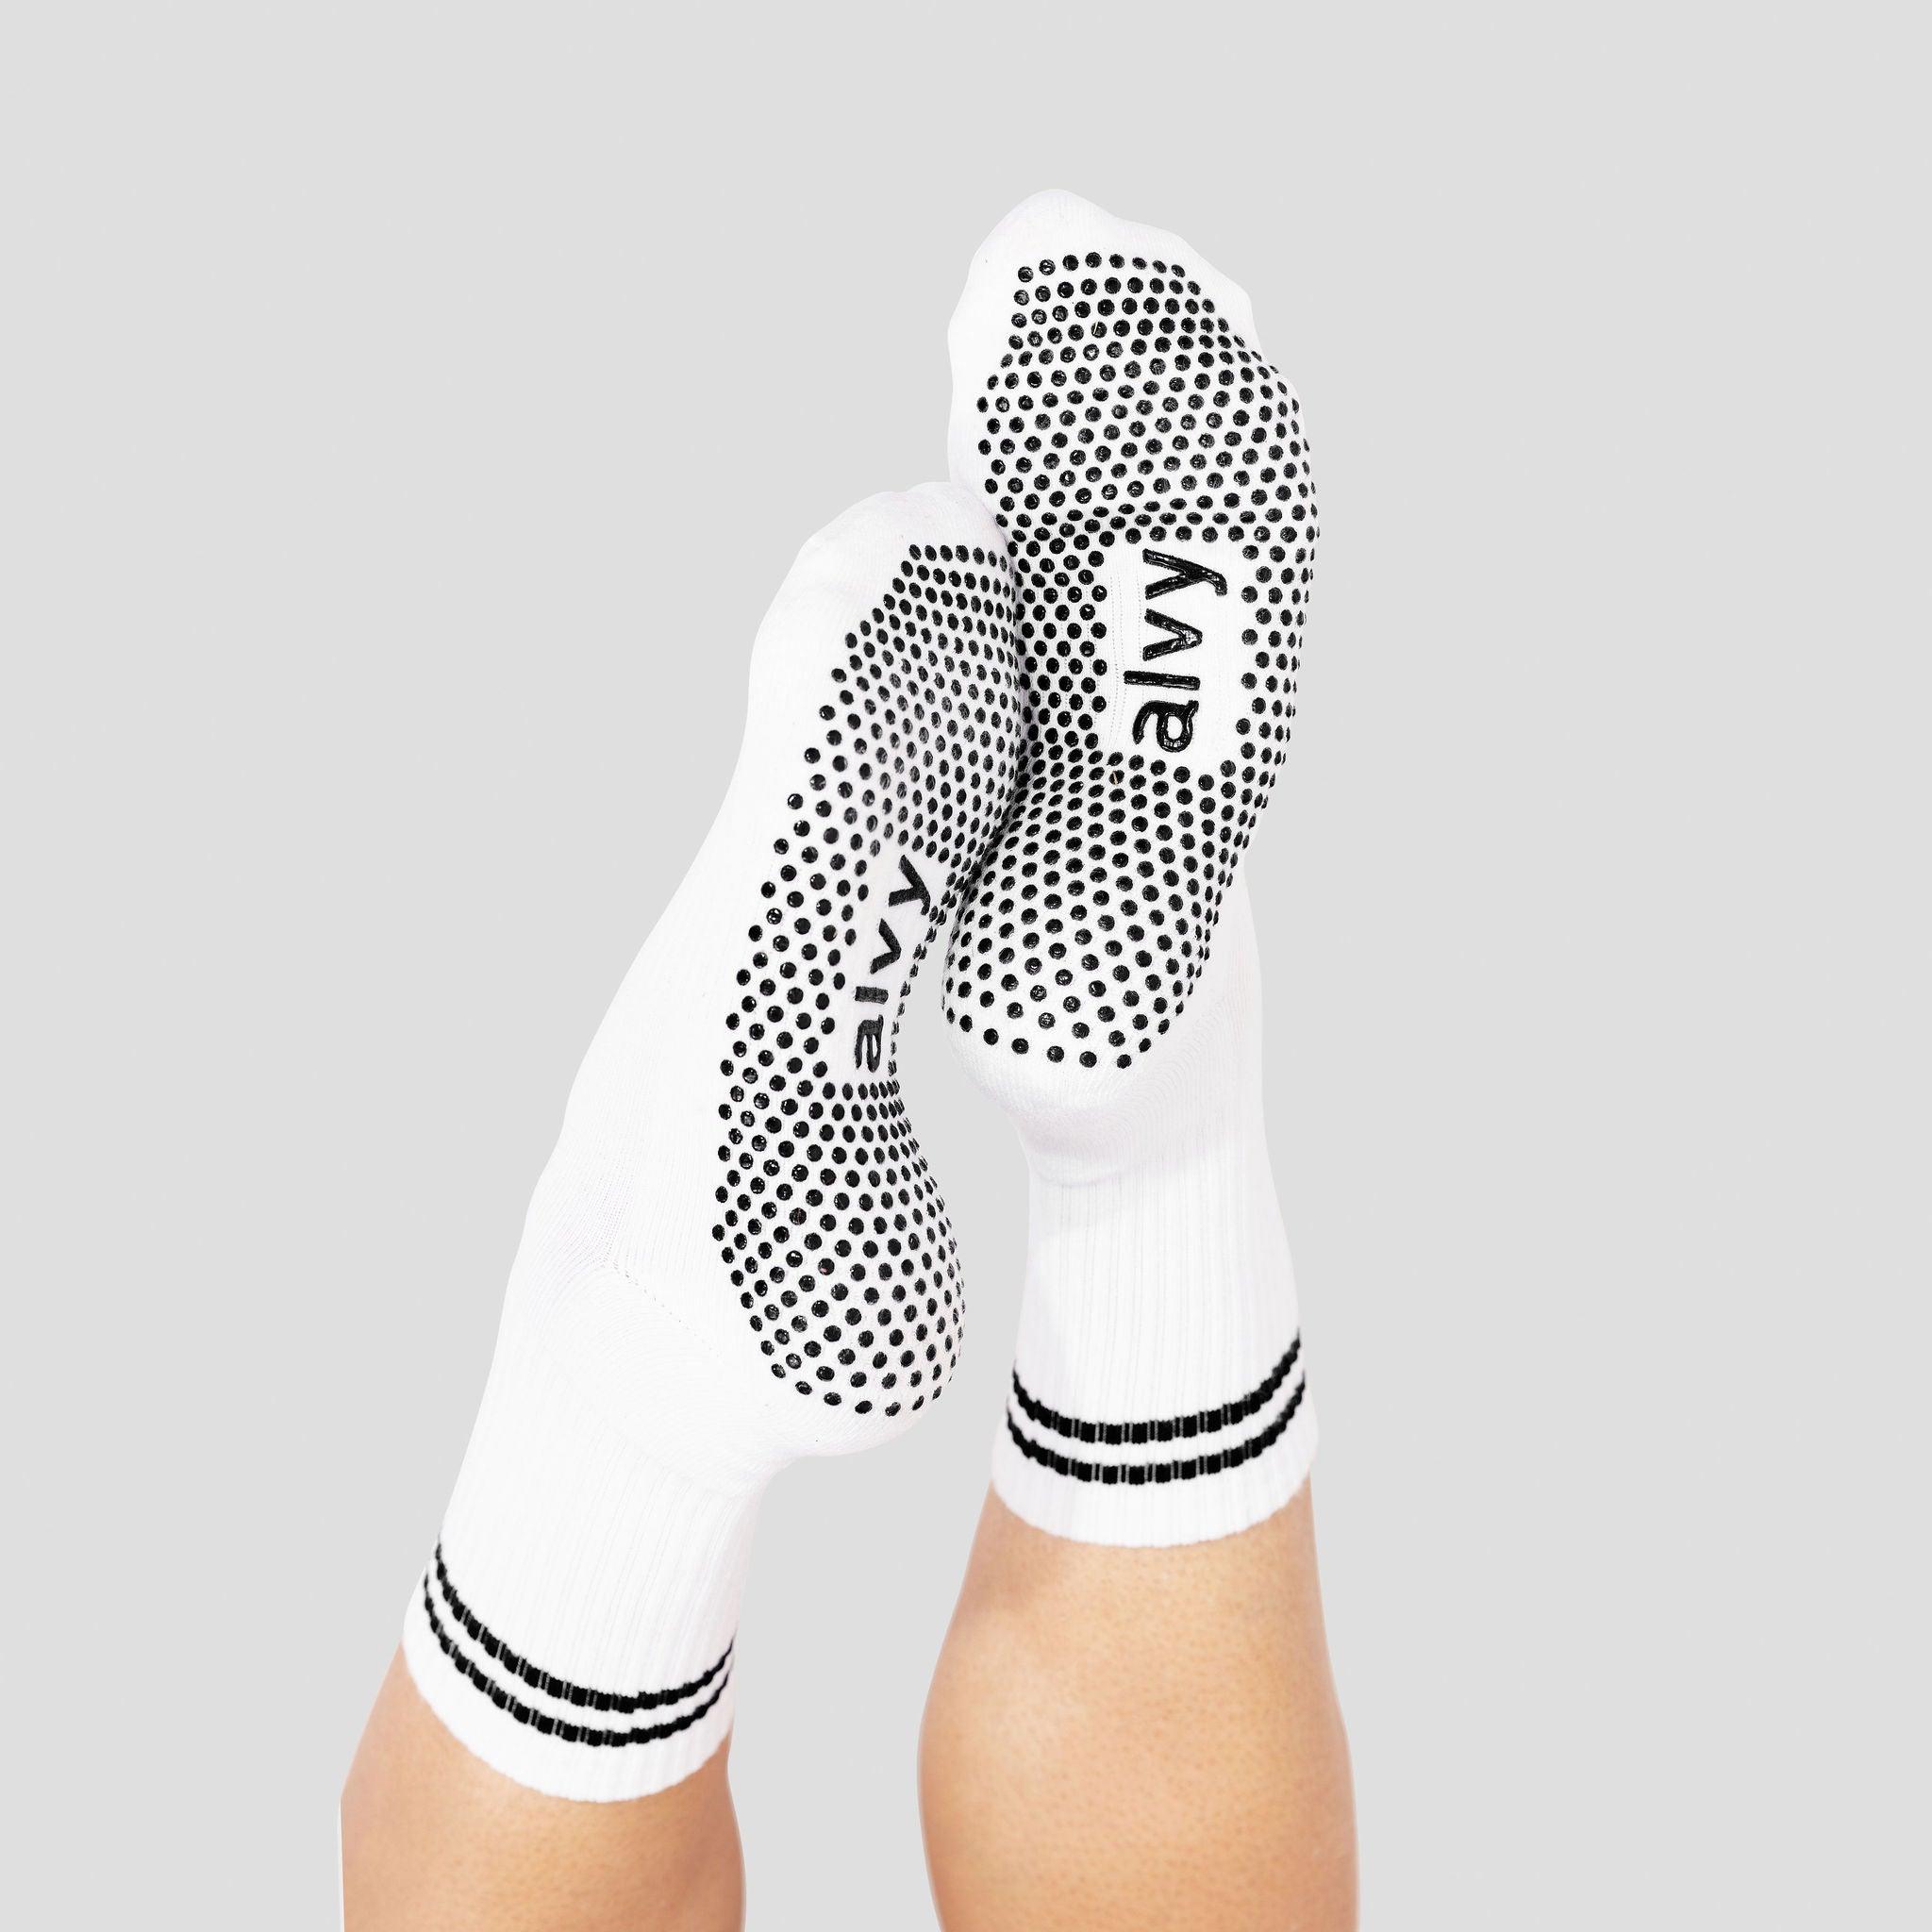
- Add Grip Pads: Cut non-slip fabric or grip pads into shapes that match the areas you painted. Apply fabric glue to the back of each pad and carefully press them onto the painted sections of the socks. Allow the glue to dry thoroughly.
- Remove Inserts and Tape: Once the paint and grip pads are dry, carefully remove the cardboard or plastic inserts. Peel off the painter's tape to reveal your customized grip socks.
- Test Your Grip Socks: Before using your socks in a workout, test them on a clean, flat surface to ensure the grip pads provide the traction you need.
What You Need To Make Non-Slip Socks
To make your own grip socks, you will need a few essential materials. Here are the items you'll need to get started:
Choosing the Right Socks
You'll need a pair of regular socks first of all. Pick socks that fit well and are comfy. In order to keep your feet cool and dry, look for socks composed of breathable sock materials like cotton or bamboo. Steer clear of socks that are excessively thick or thin as they might not offer sufficient grip or be uncomfortable to wear. If you have sensitive skin, you may want to consider fabrics that are hypoallergenic.
Selecting the Right Type of Paint
Paint the soles of your socks with a non-slip paint to give them more traction. Non-slip paint comes in a variety of forms; these include silicone, puffy, and fabric paint. If you're looking for paint that dries quickly and is easy to apply, fabric paint is a fantastic option. Puffy paint is a thicker paint that gives your socks' soles a raised, textured finish. Compared to fabric or puffy paint, silicone fabric paints are more resilient and have a longer shelf life.
Once you have your socks and paint, you are ready to start creating your own grip socks. With a little bit of time and effort, you can create a pair of socks that will provide you with the traction you need for your favourite activities.
Creating Your Grip Socks
If you want to create your own grip socks, there are a few steps you need to follow. Here's a guide on how to make your own grip socks.
Designing the Pattern
The first step in creating your grip socks is to design the pattern. You can either create your own design or download a template from the internet. Once you have the pattern, you need to print it out and cut it to the size of your sock.
Applying the Paint
After designing the pattern, the next step is to apply the paint. You can use fabric paint or non-slip paint for this. Use a paintbrush to apply the paint to the bottom of the sock, following the pattern. Make sure to apply the paint evenly and let it dry completely before moving on to the next step.
Drying Process
Once you've applied the paint, you need to let it dry completely. This can take anywhere from a few hours to overnight, depending on the type of paint you used and the humidity in your area. Once the paint is completely dry, your grip socks are ready to use.
Creating your own grip socks is a fun and easy project that can be done in just a few hours. With a little creativity and some patience, you can create a pair of custom grip socks that will help you stay safe and comfortable during your workouts.
Caring for Your Grip Socks
Washing and Drying
To keep your grip socks in good condition, it's important to wash them regularly. When washing your grip socks, be sure to follow the care instructions on the label. Most grip socks can be washed in cold water and tumble-dried on low heat. Avoid using bleach or fabric softeners, as these can damage the grip material and reduce its effectiveness.
If you want to extend the life of your grip socks, consider washing them by hand. Fill a sink or basin with cool water and a mild detergent, and gently agitate the socks. Rinse thoroughly and hang them up to air dry.
Maintaining Grip Over Time
Your socks' grip material may begin to deteriorate with time. Think about utilising a grip-enhancing spray to keep your hands steady and stop you from slipping. The purpose of these sprays is to restore the traction in your socks so they feel like new again. To wear socks, just lightly mist the bottoms with a small bit of the solution and allow it to dry.
It's crucial to remember that grip-enhancing sprays have to be applied sparingly. If you use them too frequently, the grip material may get overly sticky and become difficult to move about. You can maintain your DIY non slip socks excellent condition and continue to reap their benefits of grip socks for many years by according to these easy care guidelines.
Frequently Asked Questions
What materials can be used to create non-slip socks?
To create non-slip socks, you will need socks made of cotton or a cotton blend fabric. You can use sock materials such as silicone, puffy paint, or hot glue to create the non-slip grips on the bottom of the socks.
How can I make my socks less slippery for dancing?
If you want to make your socks less slippery for dancing, you can use sandpaper to roughen up the bottom of the socks. This will create more friction and reduce the slipperiness of the socks.
What is the best way to apply non-slip grips to socks?
The best way to apply non-slip grips to socks is to use a small amount of silicone, puffy paint, or hot glue and apply it in a pattern on the bottom of the sock. Be sure to let the grips dry completely before wearing the socks.
How do I choose the right type of non-slip grip for my socks?
When choosing the right type of non-slip grip for your socks, consider the type of activity you will be doing while wearing the socks. For example, if you will be doing yoga, silicone grips may be the best choice. If you will be dancing, puffy paint or hot glue may be more effective.
What are the benefits of using non-slip grips on socks?
Using non-slip grips on socks can provide better traction and prevent slipping on smooth surfaces, which can reduce the risk of injury. Non-slip grips can also extend the life of your socks by reducing wear and tear.
What are some popular brands of non-slip grip adhesives for socks?
Some popular brands of non-slip grip adhesives for socks include Aleene's Tacky Glue, Tulip Puffy Paint, and 3M Safety Walk. Be sure to read reviews and choose a brand that is known for its effectiveness and durability.

